 WHY PACK LIGHT?
As a freelance videographer, I’m on a constant quest to refine my creative and logistical approaches. The more time you spend working, the more equipment you pile up, and the more scattered that equipment can become.
It also grows increasingly difficult to transport all that equipment without a huge trunk, free back seats, and a few trips back and forth between where you keep your gear, and the car.
I don’t know about you, but I hate leaving my gear unattended in the car (even if it’s locked), and multiple trips are always a drag.
A while ago it occurred to me: there must be a better way to condense my production suite, pair it down to the bare minimum, and make transportation as easy as humanly possible.
THE PURSUIT OF LIGHTNESS
I’ve observed freelancers carrying all their gear from gig to gig, and it’s always seemed inefficient. Piled up tubs, boxes, bags and pelican cases are a recipe for early-onset back problems.
I’ve spent the better part of ten years simplifying my on-the-go video production workflow—adding and removing things interchangeably to find the best, most effective primary setup.
I’ve had to throw my self-awareness out the window and be confident that these tools will get the job done. “Looking like a pro” is not the objective. Being a pro is most important.
I KEEP IT MINIMAL
Minimalism can be the greatest gift to any artist and/or technician. The fewer tools you have at your disposal, the more creative you must be. There is also something to be said for minimizing available options.
If the project you’re doing is simple enough to warrant the type of consolidated gear selection I describe here, it should not require a great deal of time wasted choosing from 10 lenses, 8 lights, 4 backdrops, etc.
Minimizing what you take with you involves first acknowledging what your core production needs are on almost every project.
Once took a bird’s-eye view of my many shoots and their individual demands, I was able to narrow down the commonalities—the gear that all of them had in common. After this essential gear was determined, any additions to the repertoire were just improvements!
You’ll be surprised how little space the essentials take up, and how much more space you’ll have for additions, even while limiting your overall gear to one full load, and keeping one free hand at all times!
CONTAINERS
For my particular setup, I’ve chosen bags with shoulder straps as optimal containers for gear. I’ve seen people successfully use backpacks, plastic bins, etc. I find bags with shoulder straps best, as they can hold the same amount of gear as backpacks, but how you wear them is up to you.
I rely on only two bags: a Camera Bag, and a Laptop Bag. For both bags, I’ve focused on simplicity and small size.
Camera Bag: early on in owning my DSLR, I purchased the smallest, cheapest bag possible. I’ve stuck to this bag because it forces me to streamline the gear I choose for each gig.
I very quickly learned to keep all camera necessities in that one bag (batteries, chargers), memory cards, and one lens. This saves me from losing these items, or having to erratically search for them at the last minute.
I used an AmazonBasics DSLR backpack for filming my documentary, Light, in Lebanon, and had a pretty great experience. But, there was one major issue: while I enjoyed having all my lenses and gear centralized, having to take the bag off every time I needed to switch lenses made run-and-gun shooting challenging.
I find it much easier to carry lenses in a messenger bag at my side, for easy access. But the right messenger bag is hard to find.
Laptop Bag: I only recently replaced the laptop bag I’d carried for nearly ten years. What can I say? I’m loyal to carrying cases!
A good laptop bag is a streamlined solution. I don’t like oversized messenger bags that are essentially buckets for disorganized heaps of stuff. Instead, I employ narrower bags that fit my 15” Macbook Pro, with little room outside of that space, but a host of smaller pockets.
There’s almost always enough room in a bag for a couple extra lenses or larger pieces of gear, but the smaller pockets can hold many additional objects such as lavalier mics, pens, notebooks, and a portable external hard drive or two.
As you can see, I take selecting bags very seriously—some would say too seriously. But the key rules I try to remember when looking to buy a bag, or even pack one, are:
- Know your specific uses before you buy.
- The simpler the better.
- Put gear in specific places, so you never have to battle with remembering its location.
- Buy for the long-haul. Don’t feel you need to go out and spend $1000 on a messenger bag, but definitely buy cases to last for a few years. Durability is key.
Here are the bags I currently use and am very pleased with:
My Camera Bag is a Lowepro Adventura 140 Shoulder Bag. It’s very small, but the main container area can be customized with velcro wedges to hold things however you want them arranged. It’s also insanely inexpensive, at under $20! See the photos in the below section for how I arrange mine.
My Laptop Bag is an A. Kurtz Men’s Dogwood Messenger Bag. It’s strong, durable, solid feeling, comfortable, and pretty inexpensive, for what it is!
PRIMARY GEAR
I define my primary gear as the stuff I absolutely need to complete a shoot. If any one of these things is missing, the shoot won’t happen. For more on picking your primary gear, check out my article on the 80/20 principle of gearing up for a shoot, here.
My containers, or bags, are designed around housing this primary gear:
- Camera
- Lenses
- CF Cards
- Microphone
- iPad/iPhone
Let’s walk through my particulars of this gear so you have an idea of sizes, dimensions, and rolls.
My Primary Camera is a Canon 7D. Much like Simon Cade, I’m satisfied with my camera of a few years, and see little need to story-tell with a different one, unless a specific client demands something different, or I’m working on a larger-scale project.
My primary Lenses are as follows: the Canon 50mm 1.4, the standard Canon 28-135mm kit lens, and the Tokina 11-16mm. I’ve found this glass gives me a great range of use, from super wide to fairly tight-in. Say what you will about the kit lens and its limitations, but if you know its shortcomings, it can be a great solution to many problems. Not to mention, I have little trepidation about banging it around, or even losing it.
Note: I also frequently rent lenses, as they’re inexpensive and often pretty easy to access when necessary. I just don’t see the utility in owning a suite of pricey glass unless you’re a power-user under varying conditions.
My Compact Flash Cards are as follows: I own two Lexar Professional 32GB cards, one Lexar Professional 16GB card, and one SanDisk 32GB card. These were accumulated over time. Full disclosure: I’ve seen the best performance and longevity from the SanDisk. In any case, these cards are generally more than enough storage for most shoot days.
For basic shoots—interviews and so on—my go-to lavalier microphone is Rode SmartLav+. We at ShoHawk have had great luck with this tiny and inexpensive piece of equipment, and highly recommend it to filmmakers who need streamlined audio solutions that are fairly plug and play.
Note: if a shoot requires better or more comprehensive audio, I rent gear and/or hire someone else. As a non-sound engineer, I only need to own the basics, and the scale of each gig will determine greater needs. If you are an audio engineer, I would love your feedback on other streamlined and inexpensive microphone solutions, in the comments section below!
I carry both an iPhone 5S (yeah, I’m an antiques collector), and an iPad 2. While most folks wouldn’t define these as essential to a shoot, I certainly do. Mostly because both contain the Apps, Voice Record Pro, and Voice Recorder HD, which I use to take in the audio from my wireless Lav mic. With an iPhone as your receiver, you simply plug in the mic, and have the talent place the phone in their pocket.
I prefer to use the iPad, especially if the subject is sitting down. With the iPad, I can rest it out of frame, extend the mic cord, and sit the tablet up so I can monitor levels from across the room.
There are also a host of other apps for everything from light metering to storyboarding. But, we’ll save that for another post!
SECONDARY GEAR
As you may have deduced, secondary gear is complimentary. In most cases, it’s unessential but enhances quality of both product, and experience.
I’ve gone to great lengths in whittling down this ancillary gear to items that can be easily packed and carried in one trip between the car and my shoot. Here’s what I always have with me, especially when shooting things like interviews in a controlled environment:
- Laptop
- Hard Drive
- Lights
- Diffusion
- Bounce
- Support
- Camera Batteries
- Notebook and Pen
- Extension cord (minimum 1, ideally 2-3)
- Extra clothes pins
- Gaffer’s tape.
Here’s a quick rundown of that gear, what I use it for, and where to get it, if you don’t already have it:
My Laptop of choice is a 15” Macbook Pro. I take it with me to shoots for everything from reviewing scripts or pertinent documents, to importing and reviewing footage before leaving a shoot. This ensures you have what you need before the day is done.
My Hard Drive of choice is the Lacie 1TB Rugged Thunderbolt. Lacie is always raising their game with these Rugged drives, and their latest iteration is no exception. The built in Thunderbolt cable alleviates the potential to lose connector cables, or forget to pack them.
If I have the time, I generally like to create a project for editing in advance of my shoot, on my external hard drive. This way, I can import footage on the fly, without haphazardly creating a disorganized project on the spot.
The Lights I’ve found most efficient for stripped down or basic shoots are Bayco SL-300 8.5” Clamp Lights. Sure, these aren’t standard studio lights, but they’re rated for up to 150W bulbs, and can be clipped to tripods, tables, chairs, or any other protrusions.
They put off great light—which you can customize by buying different temperature bulbs—and are small enough to carry around with ease. They’re also extremely inexpensive, at around $12 on Amazon, or at your local hardware store.
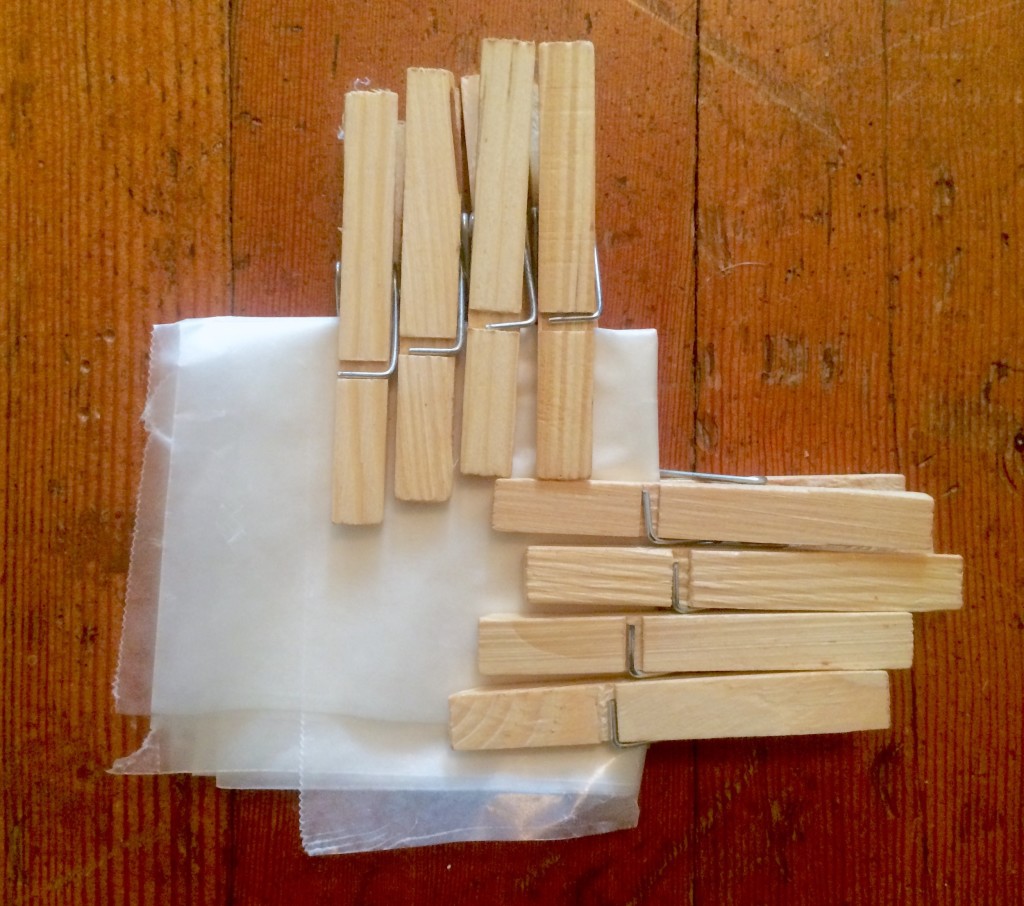
For Diffusion, I have two words: Wax Paper. Sold for less than $5 at your go-to corner store, wax paper can be used to soften direct light by clipping sheets to the hood of your light fixture. Need more diffusion? Double up the sheets! I keep a role at my house at all times.
For each shoot, I cut a 4 foot sheet, fold it into a 4 inch square, and clip it together with wooden clothespins (or C47s, to use film set lingo). I make sure to clip on enough pins to accommodate each light I’ll have with me: 4 clips for each light.
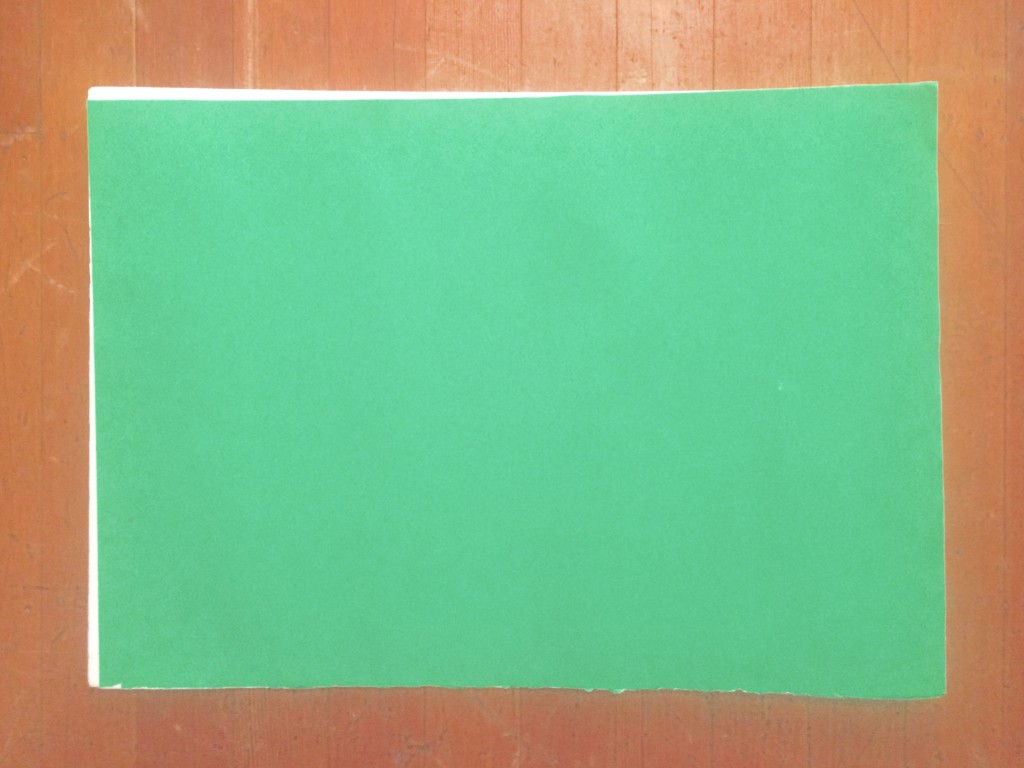
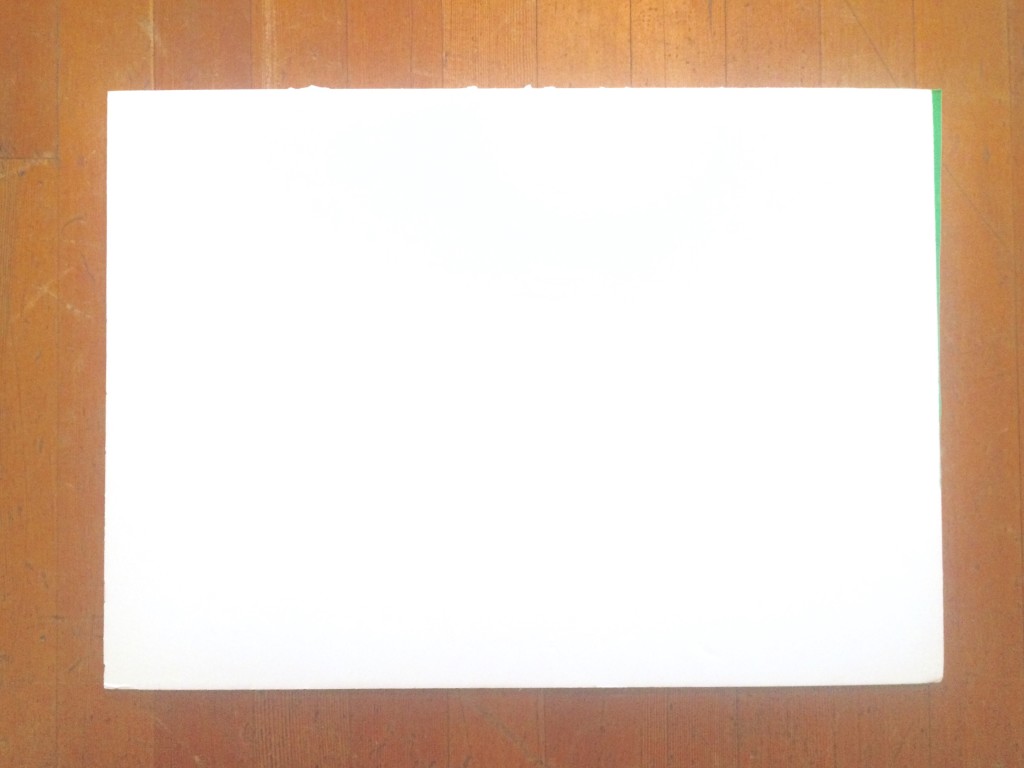
To Bounce light or create fill, my solution is foam core poster board. Walk in to your local office supply or crafts store and get two 40”x60” boards. This should cost no more than $24.
These can rest against anything to deflect light and create fill on a subject. You can even place them around lights to direct the beam.
For an extra $10, I’ve diversified these bounce boards by turning one side into a mini green screen! At the same stores, buy two pieces of similar sized green poster board, and glue or tape them to the back of each white board. It’s great for composite shots of products like books, shoes, and any number of other small items you’ll need to isolate on the fly. You can even use them as backgrounds for closeups!
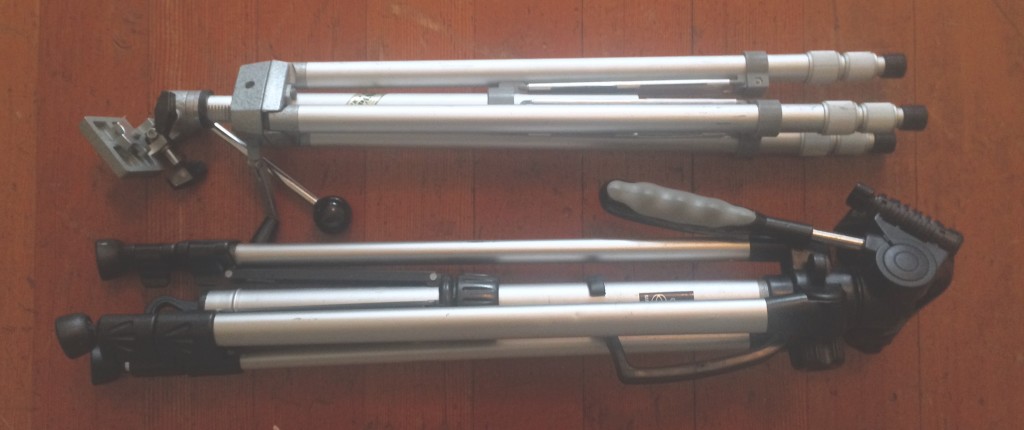
 Support generally refers to tripods and mounting systems. I carry a standard video tripod. The one you use is dependent on your needs, so cruise Amazon here, if you haven’t already landed on one.
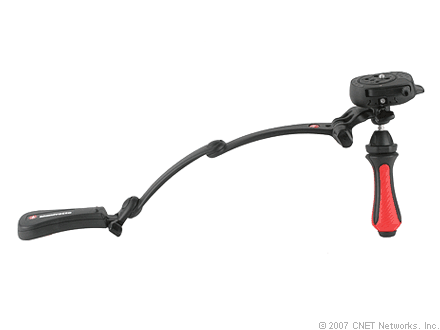
In addition, I carry a couple other pieces of support equipment. The first is the Manfrotto 585 ModoSteady. It combines a stabilizer, handheld rig, and tabletop tripod into one foldable device that fits in your pocket, all for $111 dollars! Its strongest use is as a handheld rig, in my humble opinion.
I also carry two “throw-away” tripods. Visit your nearest Goodwill or second hand store and buy a rickety old tripod or two for $15 each, ore sometimes less. These are great to have on hand if you have a static second camera, or need to mount lights on something lightweight. I’ve never had a shoot where I didn’t use at least one of my two extras.
My camera batteries are standard LP-E6s. I carry three in my camera bag, and try to make sure all three are always charged up after a shoot. Now, obviously these are pretty essential: no batteries, no shooting! I only place them in secondary because they’re always loaded with my camera, and it should go without saying that you need to account for them before leaving for your shoot.
I always like to have a standard spiral notebook or legal pad, and a pen with me. Sometimes it helps to make notes on takes you shot, conversations with talent, or any number of things that may need gettin’ done.
Extension Cords are essential. I can’t tell you how many times of arrived at a shoot, unprepared to handle far away power outlets. Always bring at least one. They’re a cheap way to buy peace of mind.
Extra Clothes Pins are great to have on hand, for the same reason. For $7 you can buy 50, and pack 20 in a ziplock bag. You never know when you’ll need them to clip up your diffusion, a bounce board, a mini green screen, or the back of your talent’s shirt to slim up their onscreen look.
And, Gaffer Tape is the solution to so many problems. You can use it to set marks for your talent, tape a microphone to them, tape cords to the floor, or mount things like boards. It comes off easy. There are many reasons that Gaffer tape has become a staple of film sets.
LOAD UP!
With all this gear laid out, it’s hard to believe this is a stripped down solution. However, if you’ve seen a studio or commercial film set, this constitutes about 1/100 of their setups.
Let’s get this gear packed up and ready to carry, load out, or load in on a single trip.
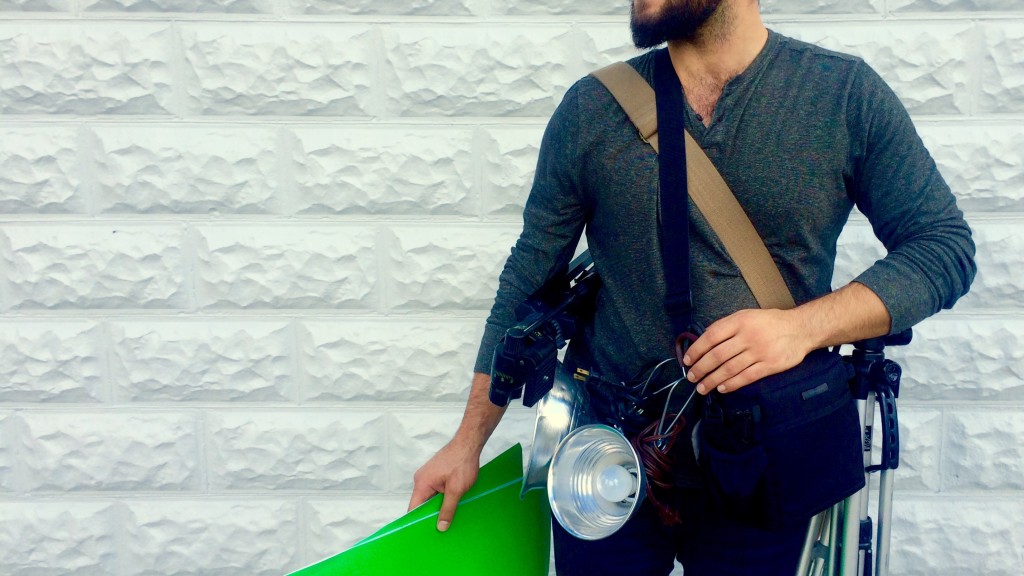
Look at your anatomy and the anatomy of your stuff: you have two shoulders, two arms, two hands, and two bags with straps on either side. Unless it’s summer, you may be wearing a coat or sweatshirt with some extra pockets, and hopefully you’re wearing pants.
Here’s how I pack:
My Camera Bag contains my camera body, one lens, a lens cleaning cloth, three batteries, their charger, and my four Compact Flash Cards.
The cards and cloth go in the front pocket, while batteries and the charger are kept in the main compartment, under the velcro flaps. I place the camera on top, with the lens pointed down. All caps go in either side pocket.
I now have my essential camera gear, in one place, at all times. I can pick up and shoot at a moment’s notice.
My Laptop Bag is packed up with my laptop, iPad, notebook, pen, hard drive, lavalier microphone, folded wax paper, clothespins, extra lenses, Gaffer tape, and Manfrotto ModoSteady. Things are packed tightly, but not uncomfortably so, and surprisingly light on the shoulders.
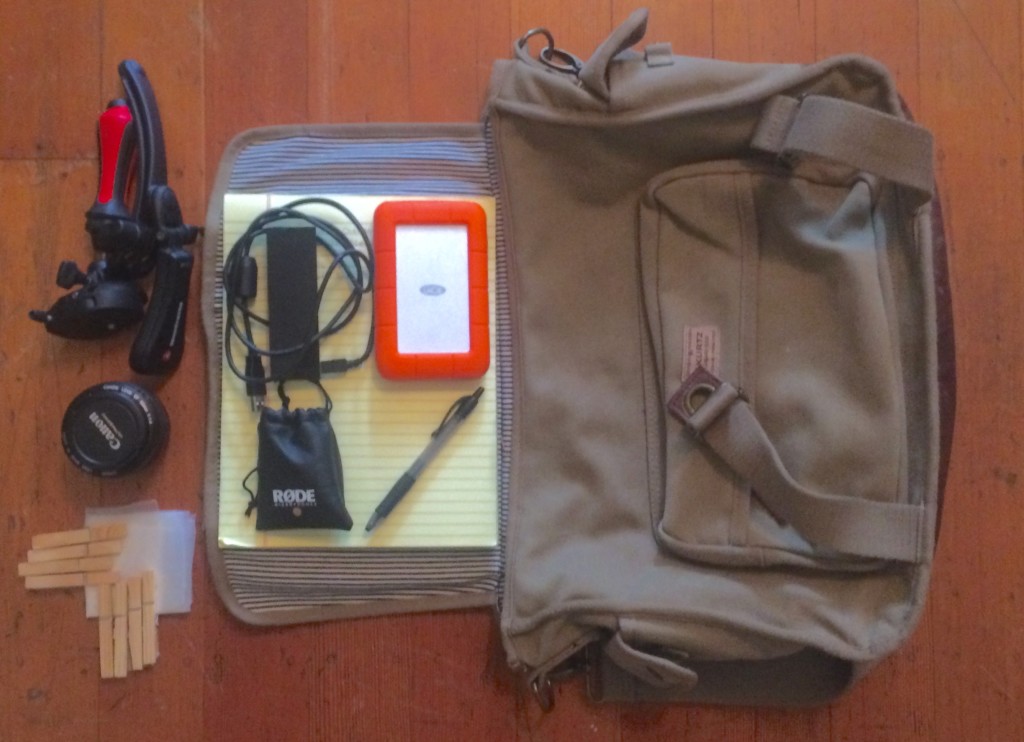
All remaining items can be carried while keeping one hand free to open doors, use keys, or just plain get around.
I condense two tripods completely, and turn the arms down, hanging them over the back straps of my messenger bag like hooks.
I carry the third, heavier tripod under one arm.
Both of my lights are clipped to the front straps of either my Laptop Bag or Camera Bag. And there they hang.
I spool The extension cord in a circle, pull it over one arm, and hang it from a shoulder. If there’s extra room, I keep it in the laptop bag.
Lastly, I carry the two bounce boards in one hand—the arm bracing the non-hanging tripod. This leaves my entire other arm free.
And, that’s that! The studio is mobile and ready! See how it all pieces together in the photo near the top of this post.
THE TAKEAWAY
A few years ago, I would’ve found this approach completely anal, micromanaged, and borderline worrisome. But over time, and with much experience, I now find it hard to live without this degree of granularity.
This approach is of course geared toward a certain type of shoot. Some gigs will require larger cameras, lights, and more gear, but it’s important to always think about logistical minimalism and mobility.
Spending time discovering the most efficient way to transport my equipment has paid off with diminished worries and less equipment lost. When you know where everything is, at all times, it’s hard to leave things behind. Structuring your gear arrangement well helps you keep track, travel quick, and be ready to shoot high quality video at the drop of a hat!
If you find this interesting, how about telling me what gear you think is essential, why, and how you lug it around from one shoot to the next? Hit me in the comments, below!
This is an awesome article and very well organized. I did a similar thing about a year ago. I was working exclusively for film shoots and well planned out interviews where I could plan out and bring all my gear at once. Then I started doing journalism work. That was the exact opposite.
I ended up getting all my camera gear, lenses, and essentials into a single backpack. I got a 3 light LED kit to fit in a small rolling case (I can’t recommend the Manfrotto 5001B nano stands enough). The only thing that doesn’t fit is my boom pole and my heavier tripod.
So I just grab my backpack (which has a light tripod and monopod) most of the time and if I might need lights I throw the kit in my car. Its all easy enough to carry at one.
That’s awesome! What kind of journalism are you doing?
Thanks for the comment 🙂