20% of your gear produces 80% of your project’s quality, and production’s ease. Figuring out exactly what that 20% is or is not, in advance, maximizes time and money.
It’s easy to tumble down these rabbit holes: “What can I use to shoot this project? What lenses are awesome? What VFX and touch-ups can I use in post-production? How big can I go for my money?”
These are fun ideas to mull over, but ideas don’t make a finished product; acting on ideas brings your movie to life. If you’re just starting out, the three things you’re likely pressed for are time, money, and help.
Experimenting and researching to discover your project’s look can be great fun, but theyx can also be massive time-sucks that stand to delay your project indefinitely, if you let them. It’s time to focus and be pragmatic: the 80/20 Principle narrows your focus to a manageable size, freeing you up to be more creative when it counts: in production and post-production.
Think about the essentials on a film shoot. If you’re on a set in the near future, observe what really needs to be there? Bigger, highly funded sets have a lot of people waiting around, and a lot of esoteric gear that never gets used. Why? Because they can afford to!
As an independent filmmaker, a huge part of your job is capturing your vision on the most efficient budget possible. Without the resources to fund excess, let’s dive deeper into what the essential 20% includes, why, and how much?
WHAT IS THE 20%?
It dictates the quality you’re working with in post-production and, inevitably, the audience experience. The less you have to “fix in post” the better. Minimizing touch-ups to flawed image or sound allows you to focus on creating compelling work. This is why I break the core 20% of production equipment into two distinct parts:
- Camera (10%)
- Microphone/Recorder (10%)
I’m no mathematician, but I believe that adds up to 20%! These are the two foundations of the cinematic experience and should be your technical priorities.
CAMERA (10%)
What are the best cameras for video? In the digital age, it’s possible to get beautiful footage out of your smartphone or mobile device, so any camera purchases/rentals you make are only enhancements. Feature films shot on a range of devices come out every day—from DSLRs to more professional camera bodies and lenses, at a range of costs.
Every camera has pros and cons, and the main thing we’ll cover here is weighing both when selecting the right camera for your movie.
The cameras we explore range in price from $649 to around $16,000. Renting them costs anywhere from $100-$500 per day. If you use your smart phone, it only costs as much as your device. Think in terms of the best tool for the job, given your budget. Here are some features and terms to be aware of while hunting around:
- 1080/720p vs. 4K: Basic HD has become the norm—your smartphone shoots it. 4K is more professional, coming in at twice the resolution of basic HD. When you see a digitally projected movie in a theater, it is likely screening at 4K.
- Maximum Recording Time: Smaller DSLR cameras produce great image quality, but generally stop recording after 12 straight minutes, forcing the camera operator to pay attention and begin recording again.
- Frame Rates: Most HD cameras, from DSLRs to pro camera bodies, are able to shoot at 24 frames per second (movie standard), 30fps, and 60fps. Pro cameras go even higher, into the hundreds. iPhones now go up to 240fps. High frame rates produce slow motion, when played back at 24 or 30fps. However, on consumer cameras they limit you to lower resolution.
- Low Light Capability: How well the camera performs in low-light situations results from both lenses, and the camera’s ISO—its sensor’s sensitivity to light. The higher you set the ISO, the grainier your image will get. It’s important to know how high your camera’s sensor will let the ISO go before degrading the image, and what lenses are available to assist.
NEVER FORGET AUDIO (10%)
My friend and longtime collaborator, sound designer Mike Elliott has said repeatedly: “The most frustrating part of my job is that audio always gets the shaft. We never get enough time or resources.” This is a huge and very real problem. Good sound can mask bad visuals. Bad sound can destroy a good looking movie!
Before digital video was widely accepted, Steven Soderbergh directed Full Frontal, a little indie film featuring big names like Julia Roberts and David Hyde Pierce. Full Frontal was filmed around Los Angeles on Canon XL1s—the top of the line digital video camera in 2002. By 2015 standards, it looks dated, grainy, blurry, and oddly colored. What makes Full Frontal watchable in 2015?
The crystal clear vocals and solid audio mix made Full Frontal’s sound hold up, even in the face of aged images.
Hollywood knows the importance of sound to the audience. They put millions upon millions of dollars into producing it for blockbusters. You don’t have all that cash so your instinct is to focus on making something visually striking, because that’s what audiences talk most about. You should certainly aim for that, but do not underestimate audio. It’s crucial! I’ve learned this the hard way, time and time again.
Essential audio tools are:
- Microphones:
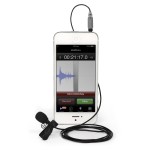
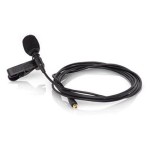
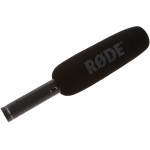
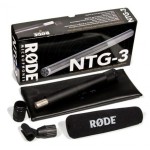
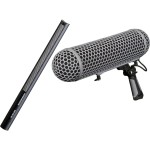
These are the primary devices for catching sound. In the video world, the most common options are shotgun mics, lavalier mics (or lapel mics), and/or wireless mics.
- Digital Recorders:
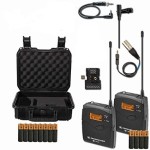
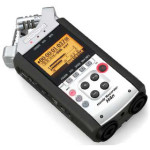
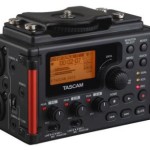
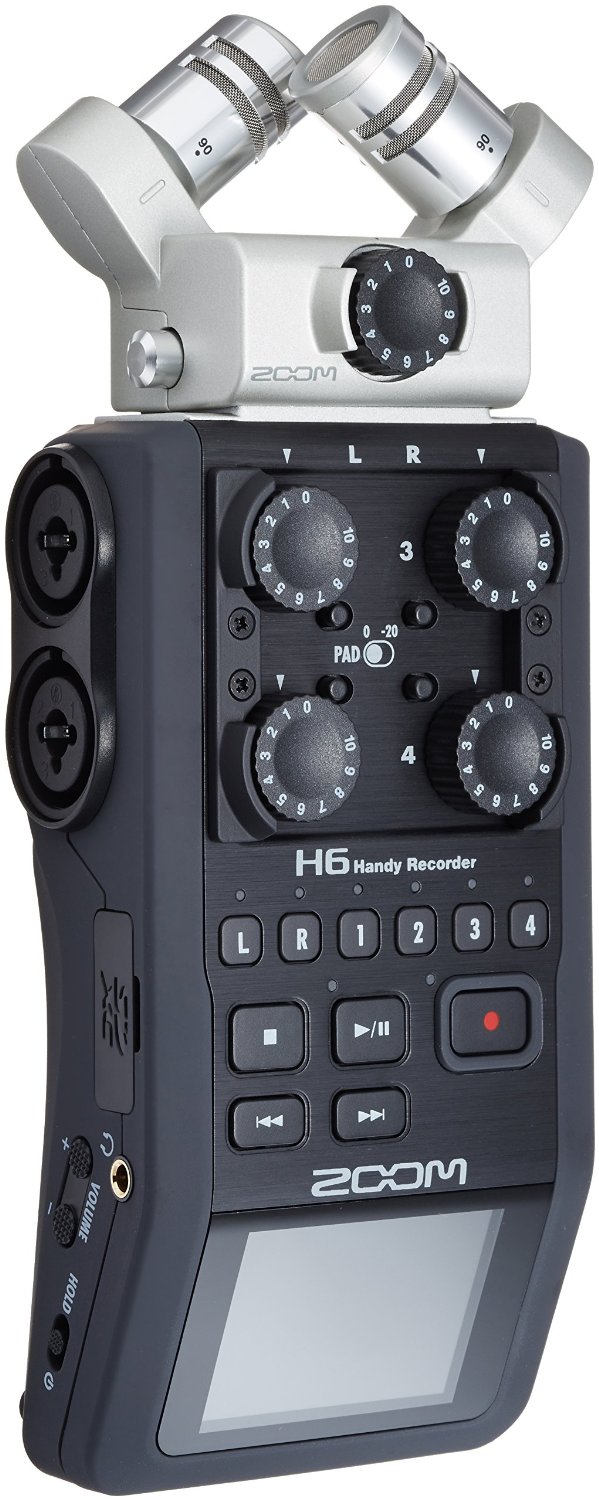
Interfaces for recording, live-mixing, and or storing audio files to memory cards. While most recorders save sound to their own memory cards, some can run as bridges between microphone and camera, synchronizing the captured audio straight into the video file.
A microphone is a huge step up from simply using camera audio, which is generally messy sounding and unprofessional. Adding a digital recorder raises the bar even further by enhancing your quality control. In a perfect situation, having a specific crew member to operate this recorder is ideal, but the recorders we cover here can also be operated by a one-person crew.
WHAT IS THE 80%?
Everything else: Lights, C-Stands, Gels, Steadicams, Dollies, Boom Poles, Computers, Data, filters, color correction, sound mix, score, etc. By methodically crafting a strong 20%, many items within the 80% grow clearer, and some are even rendered unnecessary.
Having a camera with great low-light capability reduces the need for extra lights, which will also save you money on C-Stands and Gels. Another benefit of this savings is you’ll spend less time setting up, which results in more time shooting: full-circle savings! Every penny counts in the indie world, especially when you’re starting out.
Identifying the perfect 20% saves you money and time in the long-run.
A SHORT EXAMPLE
My documentary, Light, which I filmed throughout Lebanon, required I blend into the surroundings. Carrying even a small camera brought a lot of attention—some unwanted. Having a large camera would have diminished the candidness of my footage. I also needed mobility to cover a lot of ground in a small amount of time. After considering practicality and the film’s needs, I decided a Canon 7D would be the most efficient camera for Light.
I was the only crew member on the ground. I knew environmental (or diegetic) sound would be very sparsely used—if at all—and mixed with heavy score and narrations. Because I knew the end goal, I was able to save money by only recording in-camera sound while filming! This is generally a no-no, but I knew it would be minimally important.
When it came time to record audio interviews, I borrowed a professional field audio rig from a sound engineer friend. When they were combined with occasional, low-volume location sound and a well-produced score, the soundtrack became rich and full.
I could’ve made this film for much more money with some additions to my gear collection, but I’d studied the equipment’s limitations and reverse-engineered the process to fit the smallest budget possible. Mistakes were made—they always will be—but, many were avoided because of these early decisions, and I’m pleased with the outcome. You can be the judge here, if you’d like!
The lesson: having a clear understanding of your needs in advance will save you from over-correcting in post, and wasting a lot of your, and others’ time.
Let’s dive into how you can make these crucial early gear choices.
BREAKING DOWN THE 20%
Clearly define your project’s look, sound, feel, aesthetic, intended viewing experience, etc. Before ever picking up a camera, have a 30,000 foot view. Good luck having the time to think this way on set when you’re on a shoestring budget. In advance, imagine what your film will look like when it’s done.
Here are the valuable things to identify while deciding on your key camera and audio tools:
- Desires. From a purely artistic perspective, what is your intention? What do you want your audience to experience and what do you want to get out of making this film? Look at similar films, pictures, songs, etc. These source materials will inspire your vision, while providing reference for your collaborators. Like a Look-Book.
- Needs. Now, be pragmatic about logistics. Does your vision require a great deal of footage (documentary), or are you working in controlled environments on small chunks at a time (scripted narrative)? Will microphones be capturing dialogue, ambient sound, sound effects, or all of the above? What locations will you need and how do they look/ sound? Consider every possible obstacle of each sequence in your film.
- Constraints (time, money, and help). Think about what you do and don’t have. If crew and budget are minimal, you’ll need low-cost, high quality, simple-to-use gear. If you’ve landed on two possible cameras, which of them would thrive most under your shooting conditions? Which microphone(s) will accommodate your setting, and deliver the best auditory experience? This is where you get real about your resources.
- Similar Projects. Not to be confused with your Look-Book; search around for existing projects made at a similar scale to yours. Research films made for your budget, with comparable resources and conditions. Learn from their triumphs and pitfalls. Both will save you from wasting time on guesswork and unnecessary research.
- Who Do You Know? Someone else always knows more than you. When I decided on the Canon 7D
for Light, I sought out multiple crash courses in fundamentals from pro photographers and videographers, in the months leading up to my shoot. The accelerated education got me confident, quickly. It’s completely acceptable to reach out to total strangers with polite inquiries—you’d be surprised how many people love to help. Credit them with a special thanks and offer them help in return!
- Your Team? If you have one, what do they already have? Many DPs own cameras and lenses. Many audio engineers have microphones and rigs. The more experienced they are, the more gear they usually have, which is part of why they can charge so much: they’ll save you money on rentals. If you have a crew member (or two) like this, you get not only their expertise, but their inventory.
- Tie in the 80%. Think about the downstream benefits and challenges of each audio/visual option you’re weighing. How does each potential camera, mic, or recorder improve the rest of your production? Are they solving or creating potential problems? If a friend offered to let you and your small crew borrow her Epic-M RED Dragon for your short film, does anyone on your crew have RED experience? They’re complex devices, have some post-production intricacies, and are data hogs. While the camera would be free and the image quality is great, you’ll need to spend more money on data, will likely need a more powerful post-production suite, and can expect delays on set while your crew figures out what they’re doing. It’s safe to assume you could miss out on the full quality because no one fully grasps the process. Side effects like these could’ve been avoided if your crew was using a camera they fully understood. Having great gear can can just as easily increase your problems as it can create magic. This is the crux of tying in the 80%: the best 20% improves everything, not just a small piece of the puzzle.
BEST CAMERAS FOR VIDEO – MORE FOCUS
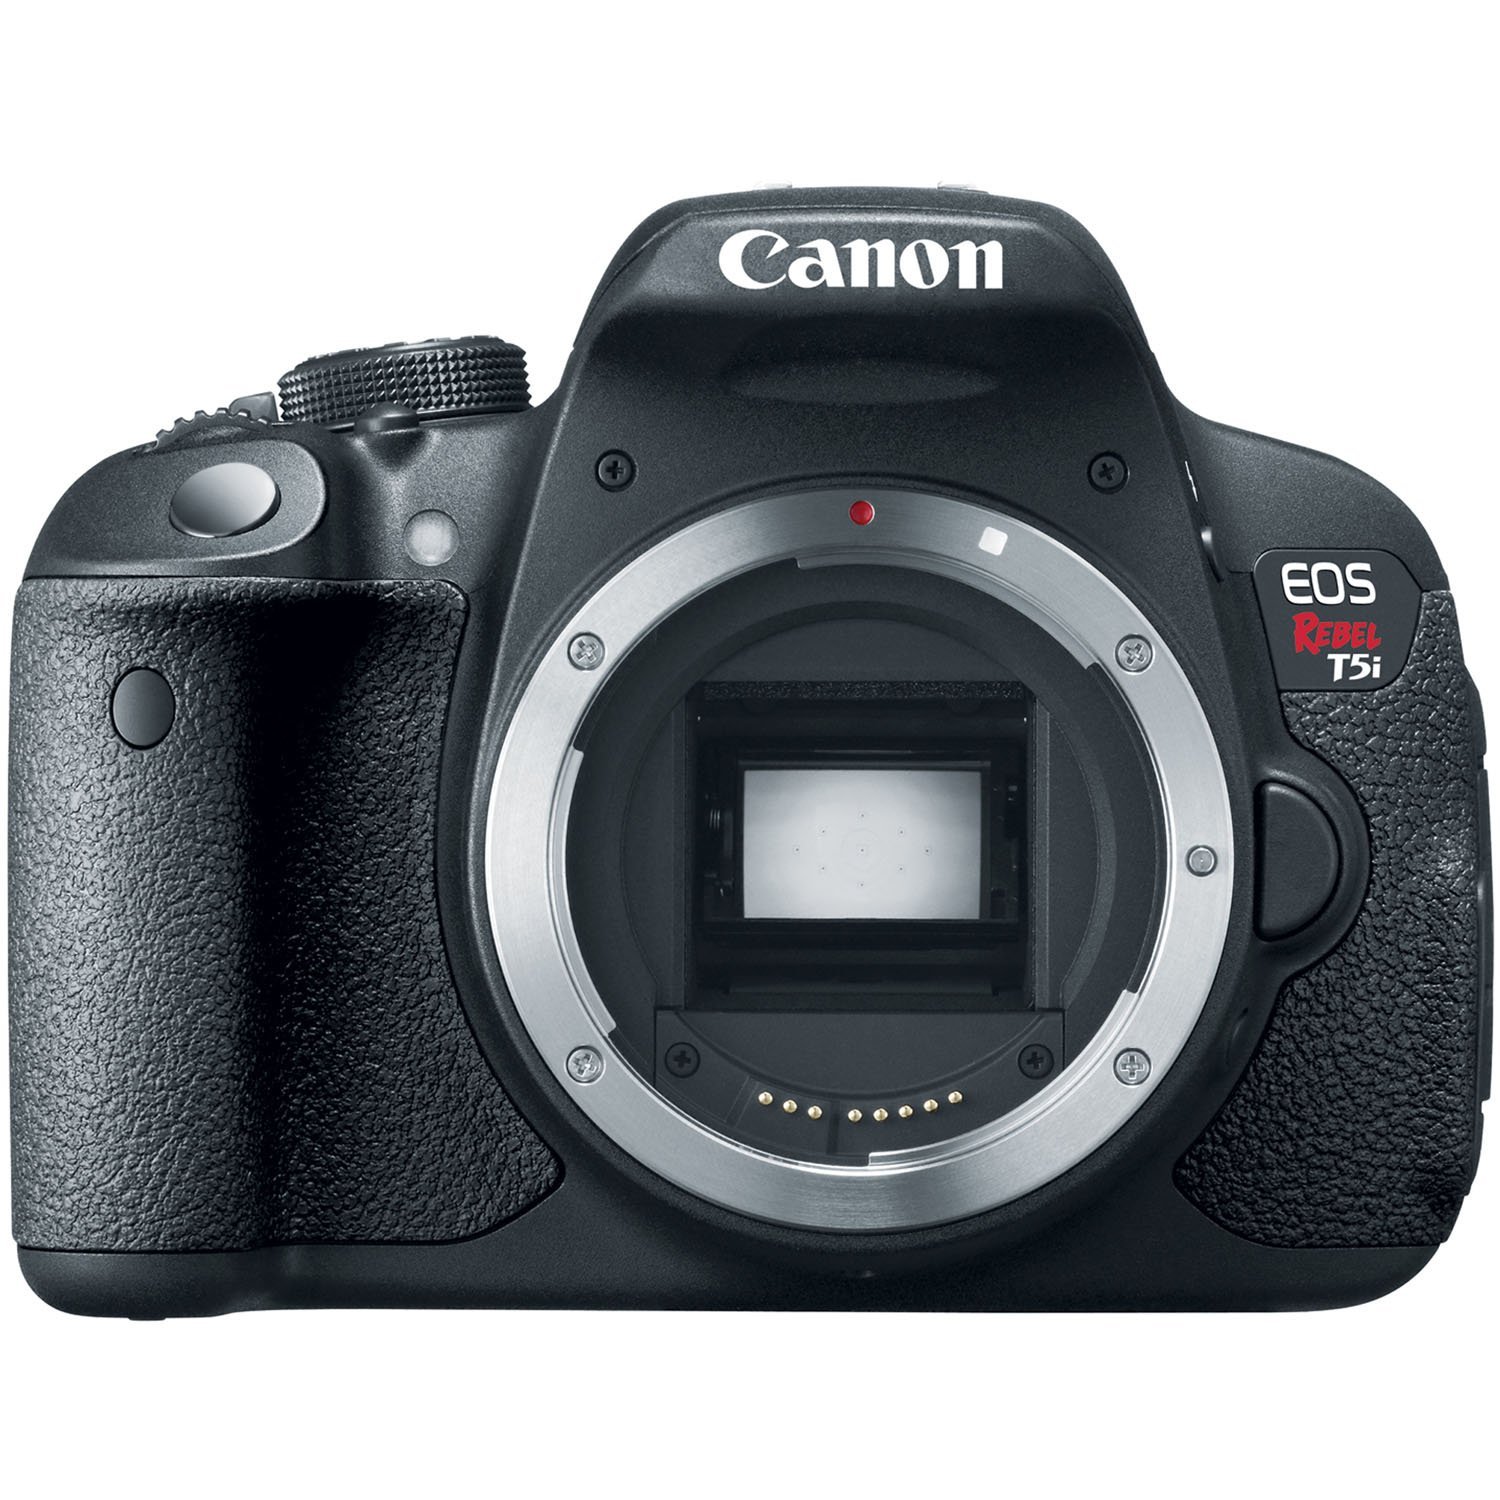
If you’ve considered all the above factors and are ready to look for actual gear in your 20%, I’ve put together a chart below. It contains cameras, lavalier microphones, shotgun microphones, and digital recorders—four options for each, in different price ranges.
I have first-hand experience with all of these, each one excellent in its own right. This chart will help you narrow down to your most affordable and practical options. Feel free to click on each device to read more and compare!
If you’re on your phone, swipe right to see the entire chart. 🙂
[Disclaimers: I am not a paid Canon representative. If you have other suggestions outside the Canon brand, please feel free to put them in the comments! I simply use and have had the best experiences with Canon gear. All audio gear was recommended by sound engineer and designer, Mike Elliott. We have used each piece of equipment in our collaborations and he was kind enough to deliver a refined list.]
Here are a few additional considerations and distinctions to help you decide what primary audio/visual gear best suits your production’s 20%:
Documentary vs. Scripted Material
On documentaries, you’ll often want the ability to roll camera for long, uninterrupted periods of time. You stand to miss a crucial moment if you’re forced to cut camera during interviews or live events. If you’re working in the scripted narrative form and shooting shorter takes, recording maximums should be less of an issue.
Picking a camera with no recording time-limit will remove one extra obstacle on documentary shoots, so you may want to avoid DSLRs.
Also consider your environmental control; how much will you be shooting with available light, or in darker locations? The C100 and C300 have fantastic low-light capabilities, and a myriad of great lens options.
For documentary and scripted audio recording, your microphones and recorders make all the difference on-location. You’ll want to look at lavalier microphones for interviews and dialogue, as they isolate vocals and minimize background noise. Shotgun mics are excellent for controlled sets or picking up ambient sounds/recording live sound effects.
Short vs. Feature
How long your shoot lasts and how much footage you’ll be dealing with in post-production impact the budget. If you can condense your shoot to a weekend, it’s entirely possible to rent a solid camera and sound setup for anywhere from $150 to $500, total. If your film will take longer than a single weekend to shoot, try scheduling only weekend shoots to get better bang for your buck in rentals.
If purchasing or borrowing equipment, the length of production is less of a factor. But, how much money and time are at your disposal?
When making a 70 minute scripted feature, versus a 10 minute documentary short, you could very well be dealing with a similar amount of footage and data. On documentaries, you’ll often shoot a great deal and “write” in post-production. On scripted films, you’ll be editing between a few takes per scene. The overall amount of footage affects editing time, and the money you spend on data and help.
Synced vs. External Sound
If your microphone(s) run directly into the camera, it’s much easier to arrange your footage for editing. If you have separately-recorded audio and video files, more footage means more work. Syncing audio and video in post adds an extra step to post-production that can take time: sorting through video and audio clips, matching them, and either manually or automatically syncing them up.
In most professional editing programs—such as Final Cut X and Adobe Premiere—you can select separate video and audio clips, perform a command, and the program will do its best to link those files. However, it’s not always accurate and can definitely be a lengthy process.
Pluraleyes is an awesome solution. I use it frequently for linking audio to video. It’s a bit expensive, but it does all the work for you and the time it saves pays off. There is also a free trial available, so if you can get all your synchronization done within the trial period, you may be good to go! Check out this demonstration:
Pluraleyes is certainly a luxury when you’re on a tight budget, but it may be necessary for certain combinations of gear and certain types of filmmaking.
Recording from a microphone straight into a DSLR, without a mixer, can result in audio compression and diminished quality (though not always noticeable to untrained ears). If you choose to record better quality audio files using one of the digital recorders from the chart, you’ll need to factor synchronization into your workflow.
Small vs. Big Screen
Think about where your film will be seen. The big screen (a movie theater) demands a certain quality of image and sound. Computers, phones, tablets, and some TVs provide a bit of leeway.
There’s a lot of talk about 4K video right now. While there are some awesome and affordable 4K options like the Panasonic Lumix GH4, does your project really need 4K?
If a 4K option is available that fits your budget and story criteria, use it! But, if it’s a bit of a stretch, your video is for online viewing only, and standard 1080p HD is more available, I would argue that it’s not worth worrying over.
It’s important to know that there are added costs involved in 4K production:
- 4K takes up significantly more storage space than traditional HD, so you’ll need more/bigger hard drives.
- Editing 4K for prolonged periods of time tests your computer’s memory and video card to the fullest. You’ll need a machine with some power.
- You’ll need to understand the camera. When used with great lenses and in excellent lighting conditions, the GH4’s 4K quality is great! A C300 will involve a more in-depth camera understanding than a standard DSLR. Take on new cameras only when you have time for the accompanying learning curve.
The same small vs. big screen standards apply to audio. Movie theaters are generally equipped with above-average sound systems, and audiences are used to hearing movies well. If you record or mix substandard audio, you could lose a paying theatrical audience.
If you’re delivering through Vimeo, micing a two-person dialogue scene with five microphones and doing a Dolby 5.0 surround mix is probably overkill. In online formats, elaborate audio isn’t a need, but a “nice-to-have.”
Let the logic of presentation guide how much you do and don’t spend.
Crew vs. No Crew
Steven Soderbergh and Robert Rodriguez direct, shoot, and edit their own films. But they also have a host of assistants, interns, and crew to help. They have grips, gaffers, and above all, years of experience.
If you alone are operating camera, recording sound, and directing, simplicity of tools and expectations are key.
Remember your limitations: even if you’re highly skilled in audio, videography and directorial work, proficiently doing all three at once is nearly impossible without help. They each take focus and patience. Be aware of each job’s complexities and use this as your mantra when selecting gear:
“The smaller the crew, the simpler the gear should be to understand, operate, and use to its fullest potential.”
The definition of “simplicity” varies from person to person, though…
Experience Level
Great gear means little in the hands of those who don’t understand it.
From using gear, to just being on set, what is your crew’s and your own experience level? Get the gear that best fits your team’s abilities, under your project’s time and money constraints.
If your project is casual and all you want is to experiment with new gear and see what comes out, go for it! You’re there to learn and play. But if you’re trying to shoot on a schedule, with a budget, and you want the finished product to enter festivals, I’d recommend using the best quality equipment that’s also most familiar. Maximizing quality from lesser gear is more impressive than floundering superior gear’s quality.
Written vs. Improvised
Shooting improvisation is like shooting documentary footage: capturing lots and lots of material, in many different variations, then structuring in the edit. Improvisations can be fun to shoot, but I have two very important warnings:
- Cutting improvisations can be a struggle. Selecting from a bunch of drastically different takes and paring down the scene to a comfortable size is a skill. Extrapolate that to scale: cutting a 10 minute short film from five scenes, shot in 7 improvised takes that are each ten minutes long, entertaining, and unique. Improvisation takes a lot of time in post.
- You need to be objective with improv. You need look for the moment that moves your story best.
- Treat improv like a documentary. This includes both your camera selection, and analyzing the effect of improv on your post-production workflow.
From the audio perspective, be cautious with improvisations as they can escalate quickly, requiring some maintenance. If an actor starts yelling, audio levels could clip and degrade. Either manage your actors’ volume, or have a professional manage the recording. Audio for improv is very risky without a digital recorder that allows for monitoring of levels.
Location Location Location
From lighting, to sound, to power outlets, examine every aspect of your chosen location. Will you be able to charge batteries on-site? What lenses will you need to accommodate the lighting throughout the day? Is there a huge freeway overpass above your location that will make clear audio impossible?
Crew or no crew, approach every location with the following factors in mind:
- Light: is there too much, too little, or just enough?
- Noise: is it too loud?
- People: are there a lot of bystanders walking around?
- Power: are there power outlets close by?
- Time: how much time can you spend there without any problems?
If any of the above raise suspicions or require extra resources, you’ll either need to find a solution that fits your budget, or find a new location. Each item on the above list can cost you additional money in equipment: whether you’re solving a problem on set, or buying extra software to try fixing in post (which almost never works).
If a pivotal location is has low lighting, you’ll need a camera with wide-open apertured lenses and a sensor that handles high ISOs. If that location is moderately loud and you need to capture dialogue, you’ll want lavalier mics.
Your locations help dictate optimal equipment. Thinking of them critically, in advance, and choosing the correct foundational gear can save money in the long-run.
THE ULTIMATE 80/20
Sometimes you can get more out of an iPhone than a Epic-M RED Dragon. Strike me down, but I truly believe that. Why? If you’re starting out, with very little help, you know your iPhone better than the RED.
Compile a rough budget for your 20%, keeping in mind the strengths and weaknesses you’ve assessed. Then edit that budget: narrow down your essentials to the perfect balance of quality, effectiveness, and affordability. What is the best image and sound quality you can capture for the smallest investment of time and money?
Select the camera, microphone(s), and/or recorder that will produce the best possible product, for the lowest cost, enabling speed and ease of use for those involved in your project.
THE TAKEAWAY
Every decision you make before your first day of shooting will impact the entire production and, eventually, an audience’s viewing experience. Time is money, money is money, and you shouldn’t waste either.
Finding the perfect camera and audio recording solutions will significantly reduce the money you spend augmenting your shoot with extra gear, covering up problem areas, fixing flawed material, and masking obstacles, which is the 80%. When you truly find the ideal gear for your story and skillset, you create the best production and audience experience possible.
You may not be able to afford any of the items recommended. Does that mean you should wait until you can to make your movie? Absolutely not! Take the same analytical approach to the things you do have—the gear you can afford.
The process of examination is the same, no matter the gear; it’s the thought that counts. The act of pragmatically investigating your project’s best options is most important and will put you miles ahead of where you’d be, had you just taken gear at face-value.
The 20% is what’s crucial—“need-to-haves”—and the 80% is what helps—“nice-to-haves.” You’ll be surprised how trivial that 80% actually is when your camera and sound recording fundamentals suit the project perfectly on their own.
What’s your key 20% of filmmaking gear, and why? Tell us below in the comments—we’d love to talk about it!

Hi Christopher,
I’m making a music video. Four locations, multiple extras. This was really helpful. Taking sound out of the mix (pardon the pun) really makes things easier!
JB
Hey there JB!
Music videos are COMPLETELY unique experiences. I love doing them. You really get to focus in on the visuals and start with the audio, which is sort of backwards. Really great exercises in the craft!
These are still my favorites:
Karma Police https://www.youtube.com/watch?v=IBH97ma9YiI
On To The Next One https://vimeo.com/35108958
Thanks!
I agree with Chris — On To The Next One is dope.